Add Predefined and Custom Tables
Master Packager lets you add predefined and custom tables to an MSI or MST. Use this when a package needs extra schema elements for installation logic or vendor-specific integrations.
Table types
- Predefined tables ? Add standard Windows Installer tables or non-standard predefined tables used by products such as Office or Visual Studio.
- Custom tables ? Create packaging-specific data structures when the standard schema is not enough.
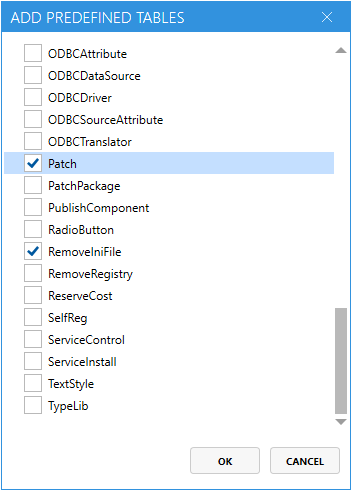
Some predefined tables are not included by default. Add them manually when needed, such as the RemoveFile table when the package must delete files during installation or uninstallation.
Custom table fields
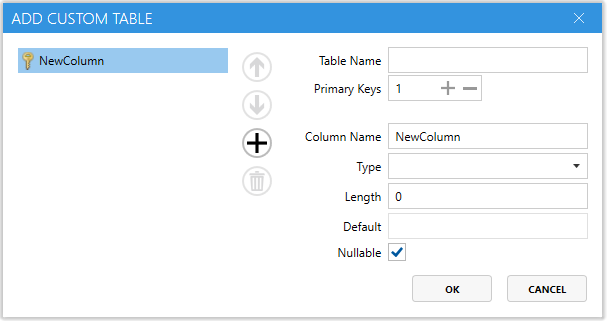
| Field | Description |
|---|---|
Column names | Define the name of each column in the table. |
Data types | Choose the data type for each column. |
Column lengths | Set the maximum length for variable-size values. |
Default values | Set values that new rows use automatically. |
Nullable settings | Allow or prevent empty values. |
Primary key columns | Choose the columns that uniquely identify each row. |
How to add a table
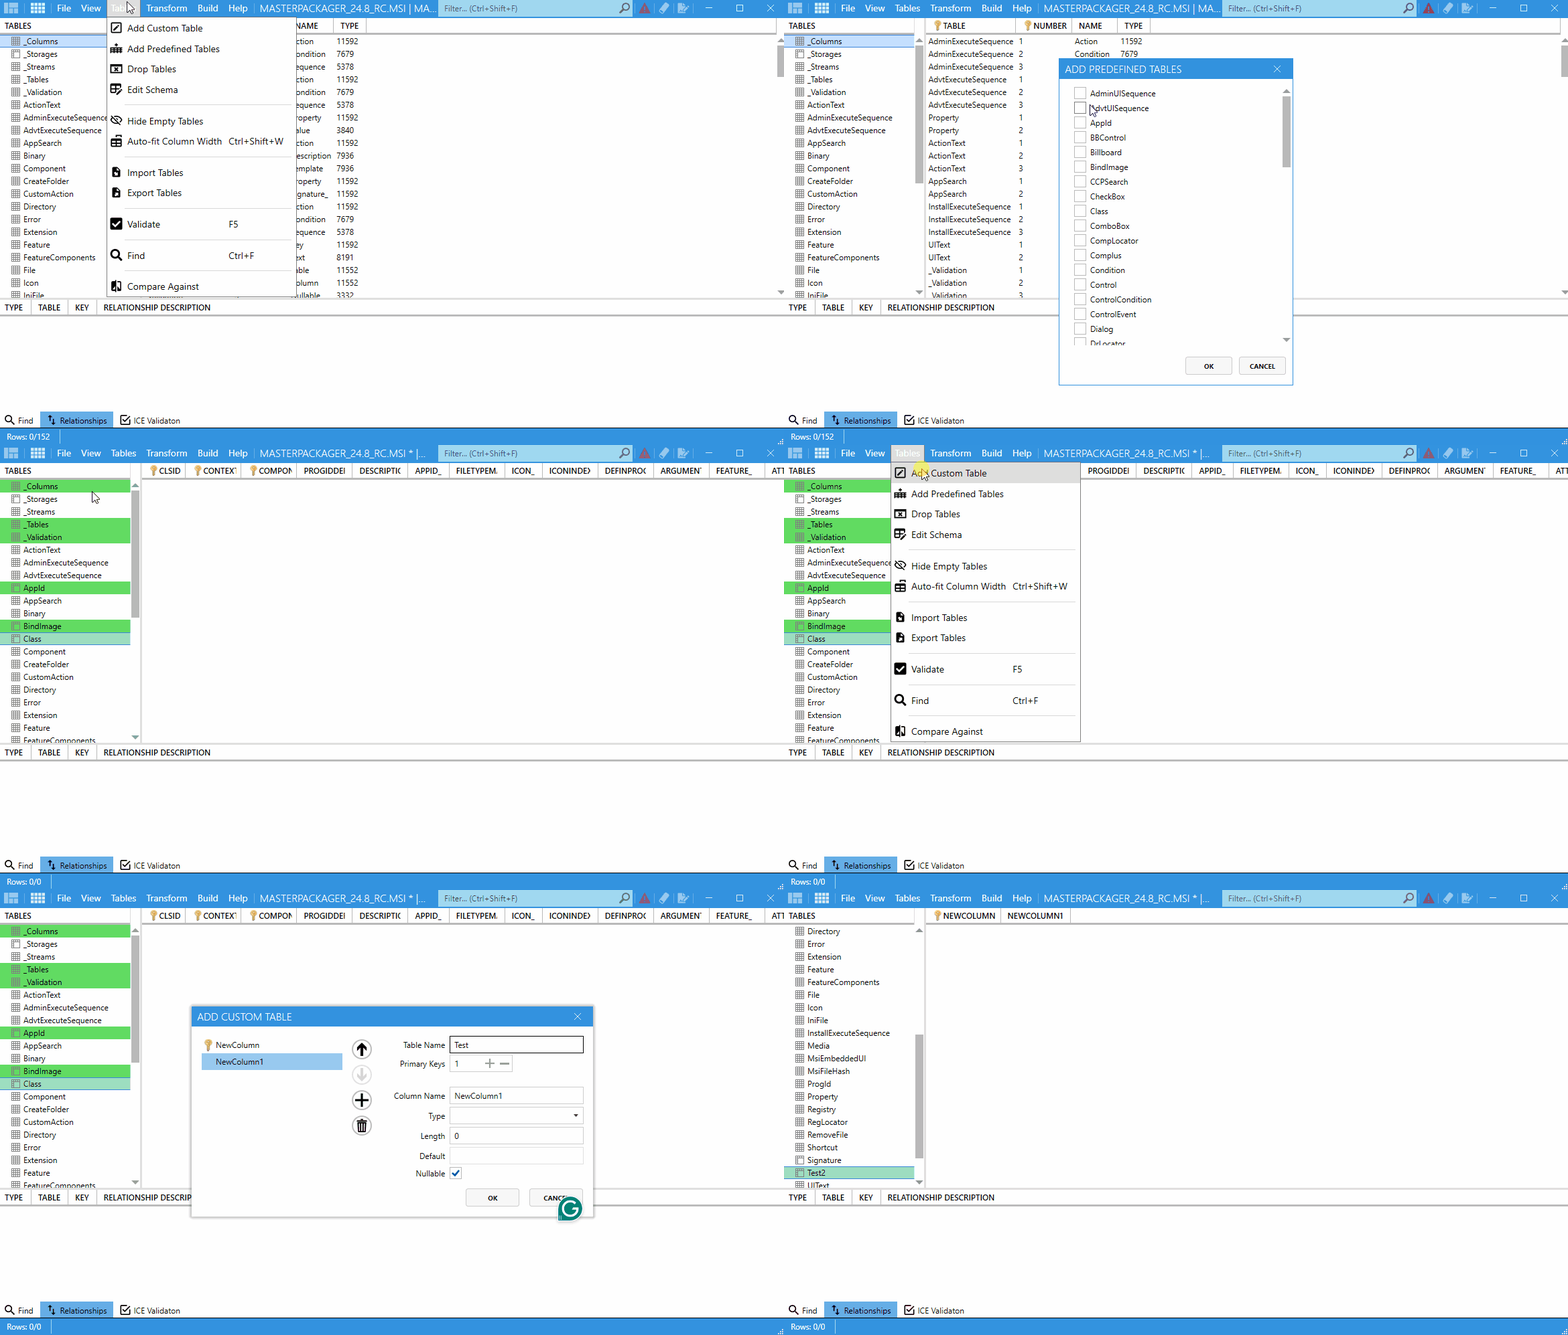
- Open your
MSIorMSTfile in Master Packager. - Go to the Table Editor.
- Click Add New Table.
- Choose one of the following options:
- Predefined Table ? Select a known table such as
RemoveFileorDuplicateFile. - Custom Table ? Define a table schema from scratch.
- Predefined Table ? Select a known table such as
- If you are creating a custom table, enter the table name, column definitions, primary key columns, and any default values you need.
When to use it
Use this feature when you need to:
- Add predefined tables that are not present by default.
- Integrate with applications that require specific tables.
- Build advanced installations that rely on custom data.
- Extend
MSIcapabilities beyond the standard schema.